
Product Update, March 2023
Check out more than a dozen new and improved features in Precoro — from updating items in bulk to revision history in budgets.
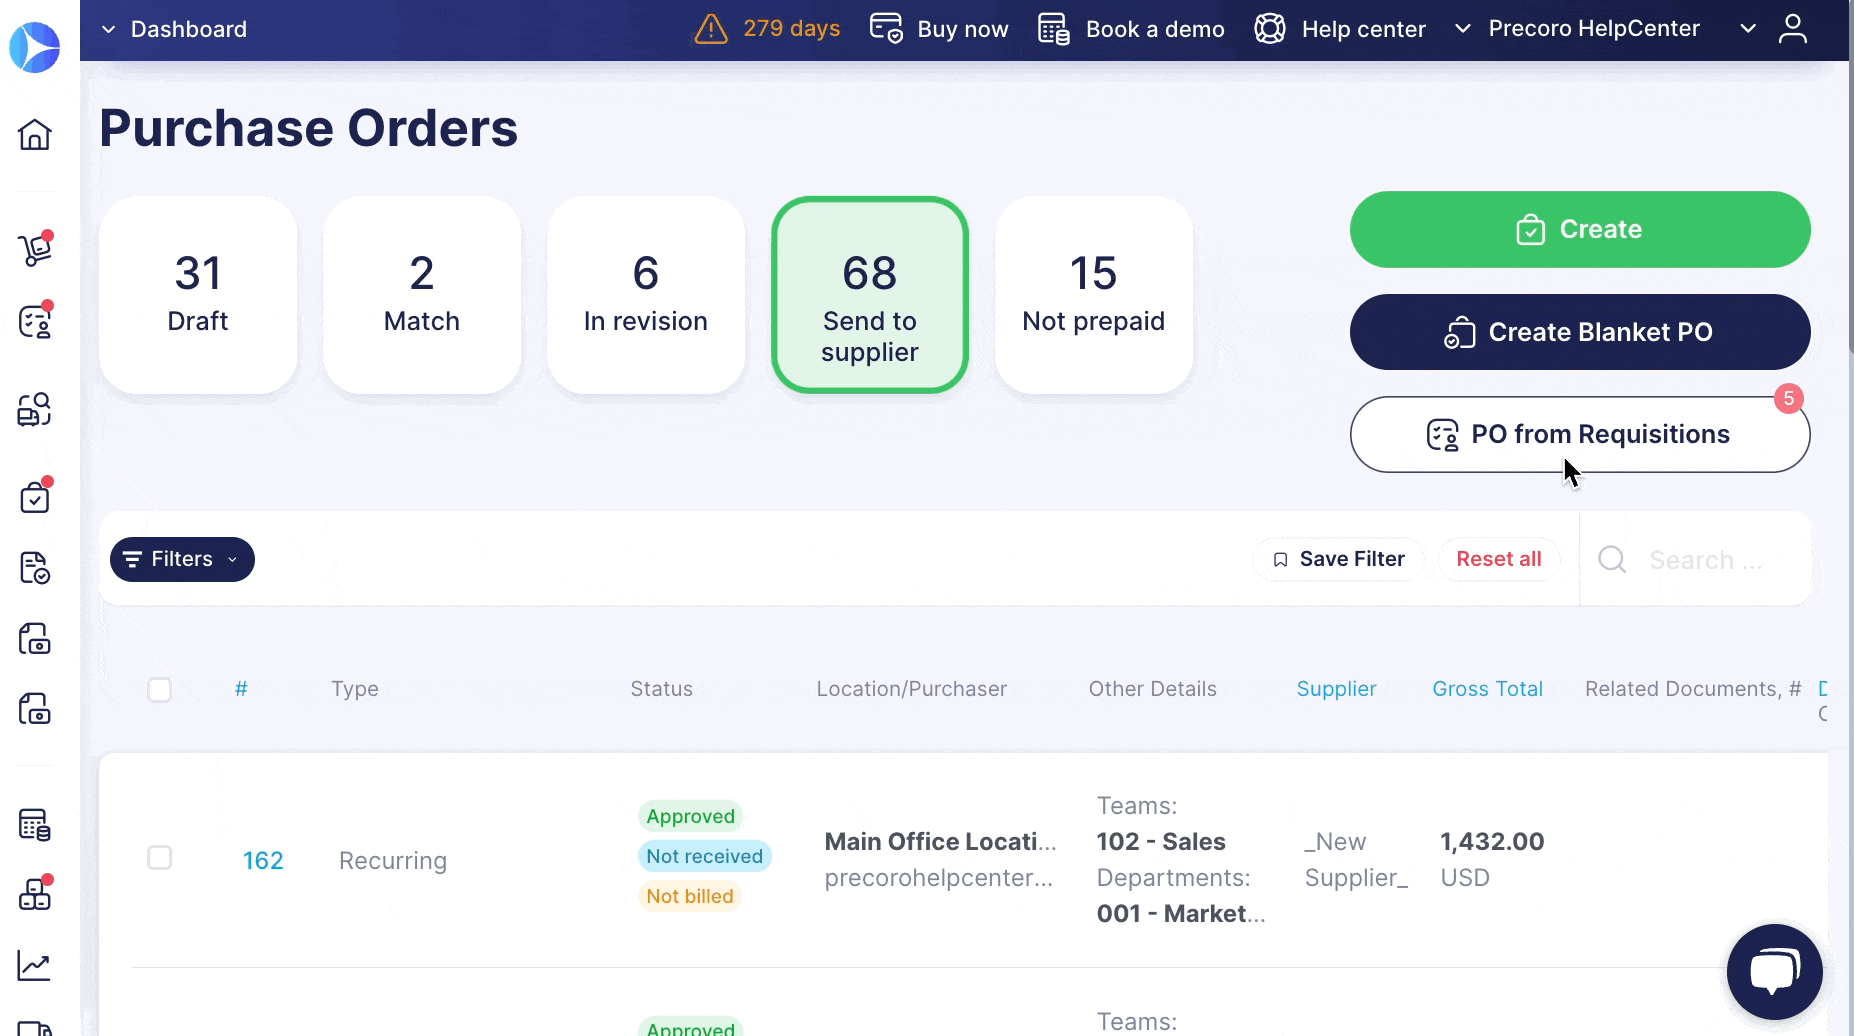
The ability to update items in bulk
Starting with this update, you no longer have to individually update each item in purchase orders, purchase requisitions, expenses, and requests for proposals. Instead, information can be changed for multiple items simultaneously.
This feature is particularly useful in scenarios when:
- Item prices have changed
- You need to apply specific discounts or taxes to multiple items at once
- You want to delete some items or add new ones
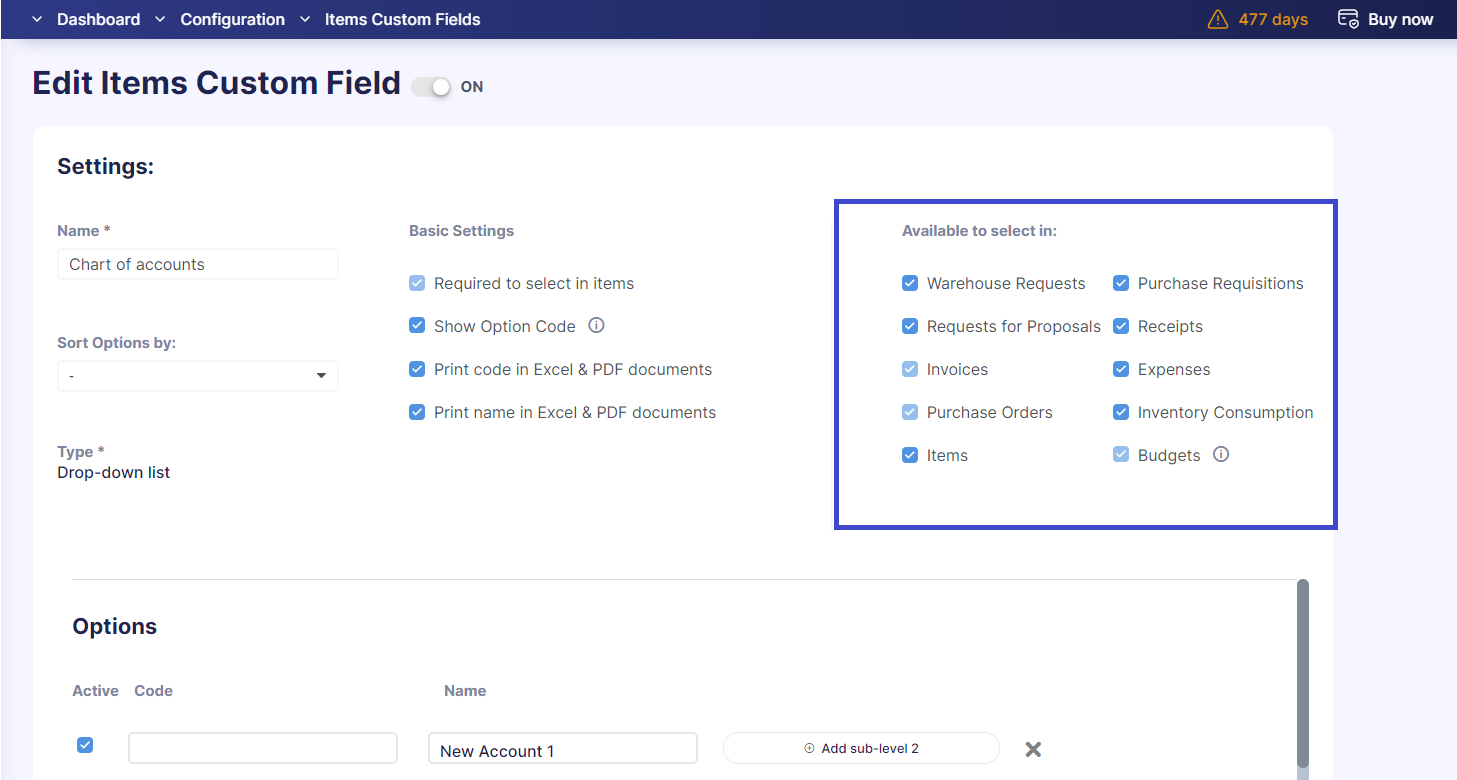
- You need to update information in the Custom Fields for Items
💡 Please note that you can only make updates to items in the PFP that has a Draft status. For items in Expenses and POs, updates can be made when the documents are in either Draft or In Revision statuses.
To update items, simply follow these steps:
- Open or create a document and click the Update Items button.
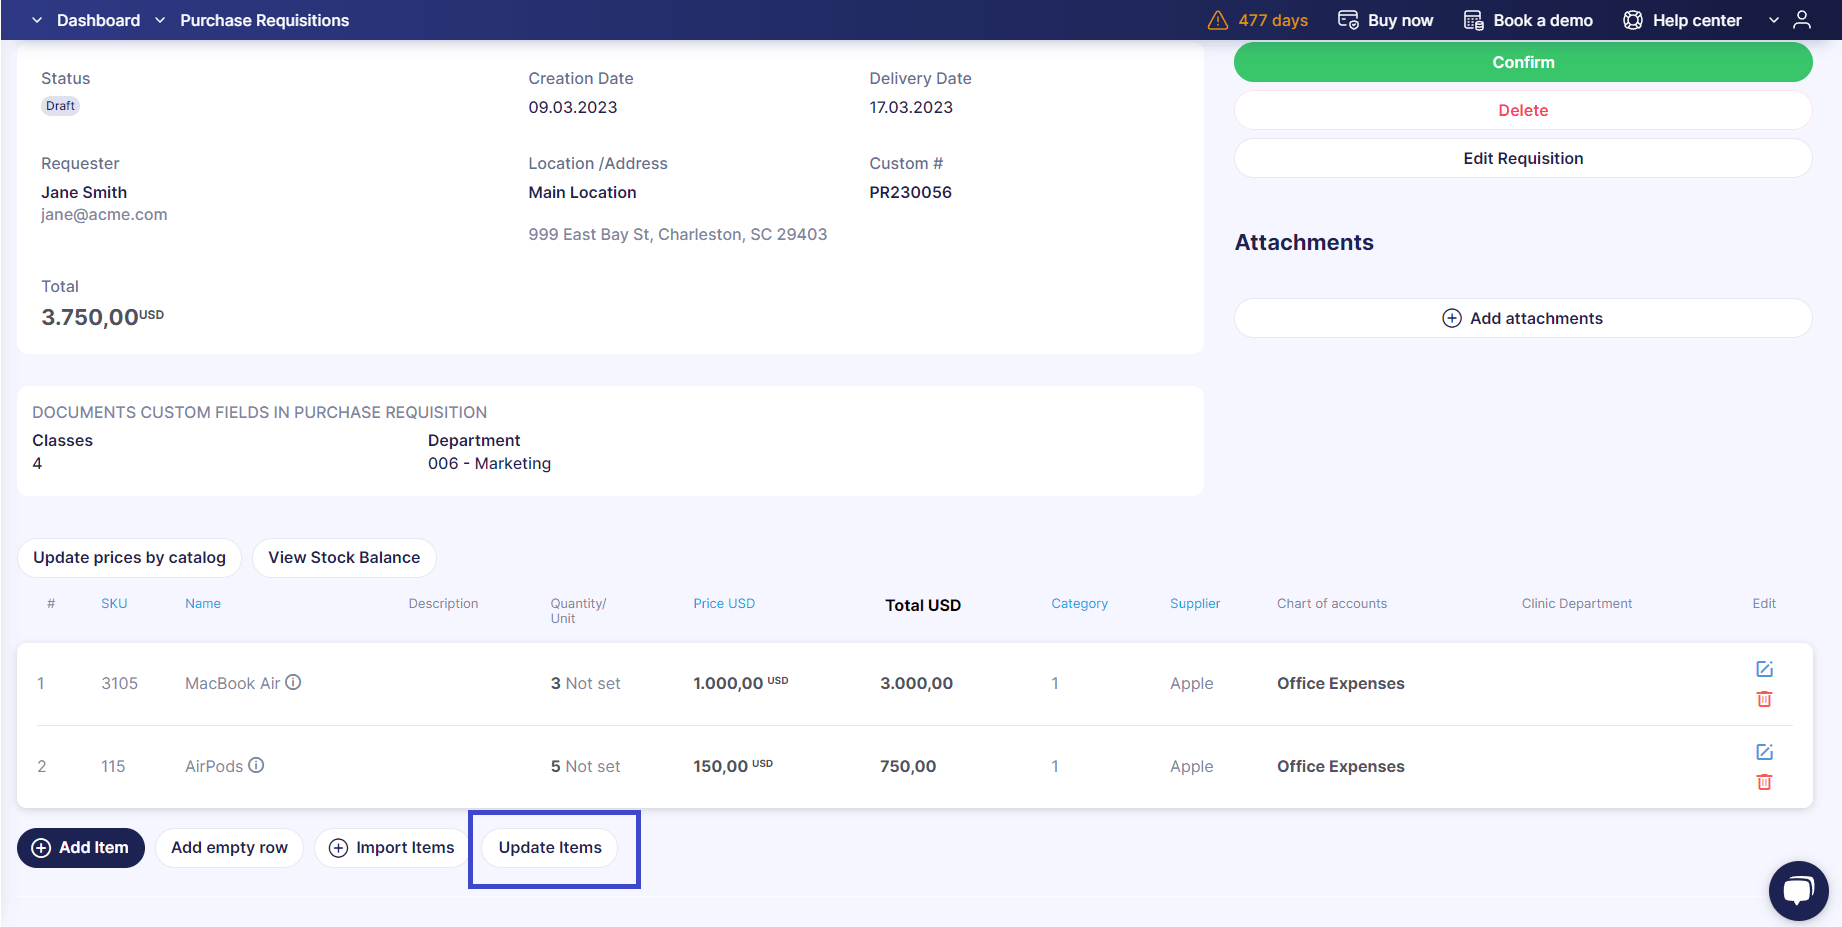
- Download the template file and make any necessary edits, such as deleting or adding new items.
- Make sure to remove any tips or instructions included in the template before submitting the updated file to Precoro.
💡Please do not edit the Item ID column. Making changes to this column can result in inaccurate data being displayed in the Reports and Inventory sections.
New in integrations
Supplier Approval Workflow integration with QuickBooks, NetSuite, and Xero
We're excited to announce that our Supplier Approval Workflow functionality is now integrated with QuickBooks, NetSuite, and Xero! This latest update will help you ensure that only approved vendors and their related documents are sent to your ERP or accounting software. What's more, document initiators will receive automatic email notifications when documents are submitted for integration.
📖 Read more about Supplier Approval Workflow in our Knowledge Base.
Improved item synchronization with QuickBooks
Our latest update now lets items be synchronized not just by their names but also by their SKUs. To configure this feature, go to Basic Settings → Documents Setup → Item Management and activate the Enable SKU checkbox.
Previously, if you had several Items with identical names in Precoro, QuickBooks would assign the same ID to all of them during synchronization, creating duplicates that could not be edited by users.
To address this issue, we've added a new parameter to the mapping query. During the item integration process, the system now matches both the Name and SKU fields, ensuring that only items with an exact match (one QuickBooks Item ID = one Precoro Item ID) are integrated.
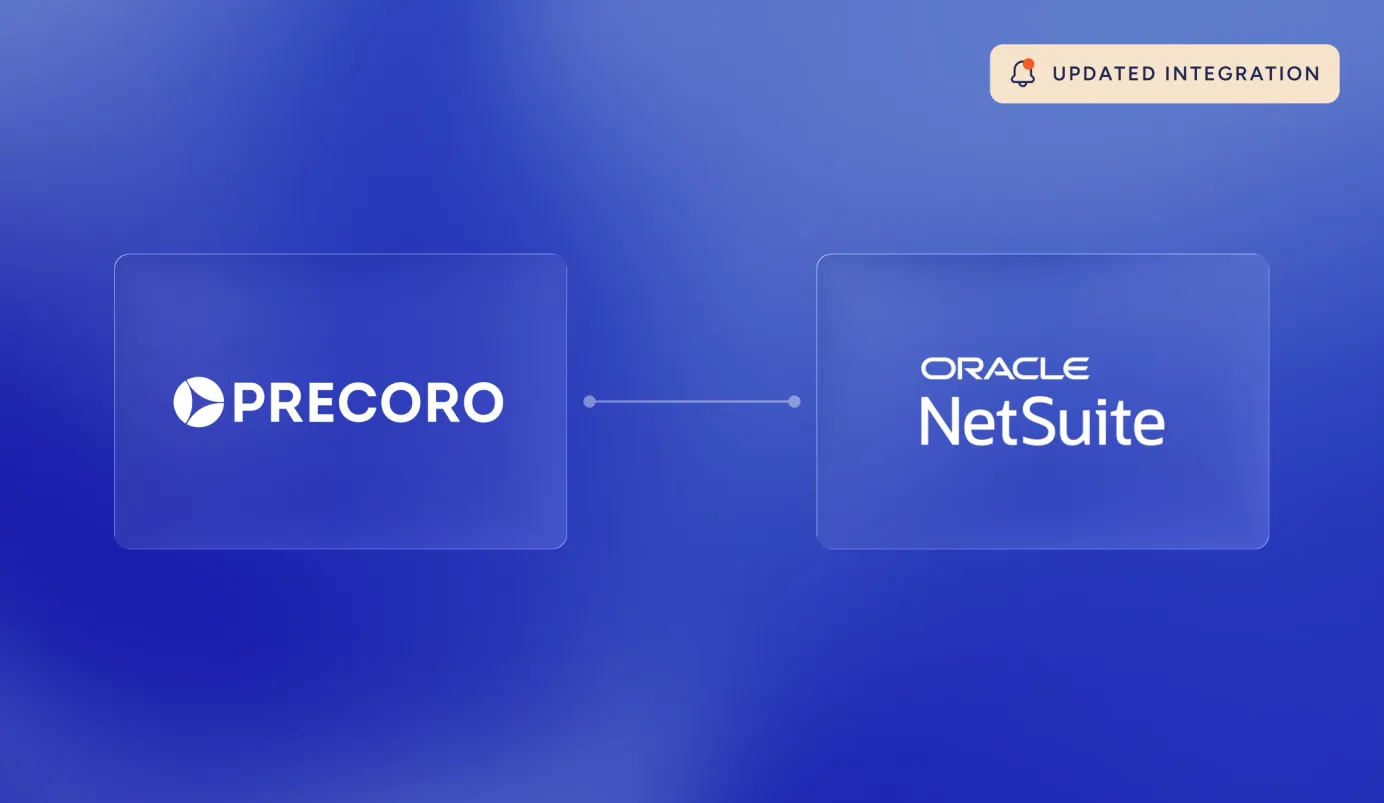
Better supplier mapping from NetSuite and QuickBooks
We've made some updates to our integration process that will save you time and hassle when importing suppliers from NetSuite and QuickBooks into Precoro. Previously, if a supplier already existed in Precoro, the mapping process had to be done manually. Now all suppliers can be automatically mapped by name from both NetSuite and QuickBooks.
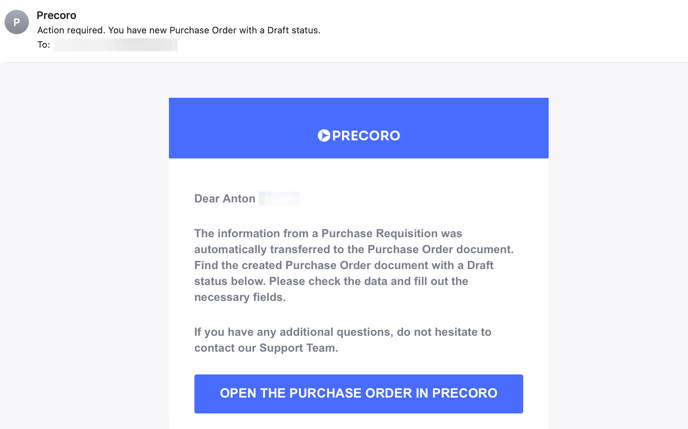
New Default Purchaser user role for Afaxys workflow
Now Afaxys integration users with the Create role activated for Purchase Orders can be added as Default Purchasers for their company. To activate this feature, please get in touch with our support team or your dedicated success manager, who will assist you with the necessary settings.
Once the feature is activated, your company's Default Purchaser will be able to receive email notifications for taking the necessary steps in processing purchase orders, like checking the data and filling out the required fields.
Revision History in budgets
We have added a Revision History function for budgets to help you ensure transparency and accountability throughout the budgeting process.
Here are the changes you can monitor in the Revision History:
- Budget Name
- Description
- Periods
- Sum
- Locations
- Items Custom Fields
- Documents Custom Fields
- Adding/Deleting Budget lines and sublines
To see the revision history for budgets, follow these steps:
- Go to the Budget page and open the document in which you want to track revisions;
- Scroll down to the specification table and press the Revision History button.
- To compare two revisions, mark them and press the Compare button at the bottom.

📖 Follow this link to our Knowledge Base for more instructions on using Revision History.
Option to reset the two-factor authentication for another user
Now users with the Configuration role can reset two-factor authentication for other users in case they are unable to access their authentication app.
To do a reset:
- Navigate to the User Management page → find the user who needs to regain access to Precoro → click Edit next to their profile.
- Go to the Security tab and press the Reset button.
Once reset, the user will receive a standard request to re-authenticate.
📖 For a detailed guide on how to work with two-factor authentication in Precoro, follow the link to our Knowledge Base.
Default custom fields for suppliers
So you can save valuable time and reduce errors, we've added the ability to set default custom fields for your company's suppliers. Then when you create documents with those suppliers, the fields will be added automatically.
💡 Only users with the Configuration and Suppliers and Items roles can use this functionality.
As of right now, default fields work with the following document types:
- Default custom fields for items are available to select in POs, invoices, PRs, and warehouse requests.
- Default custom fields for documents are available to select in POs and invoices.
To configure the default fields, please follow the steps below:
- In Configuration, make custom fields available to be selected in the documents of your choice.
- Go to the Supplier Management page and select Edit next to a supplier to modify their details.
- In the supplier card, click on the Show default options button, enter the information into the custom fields, and press Update.
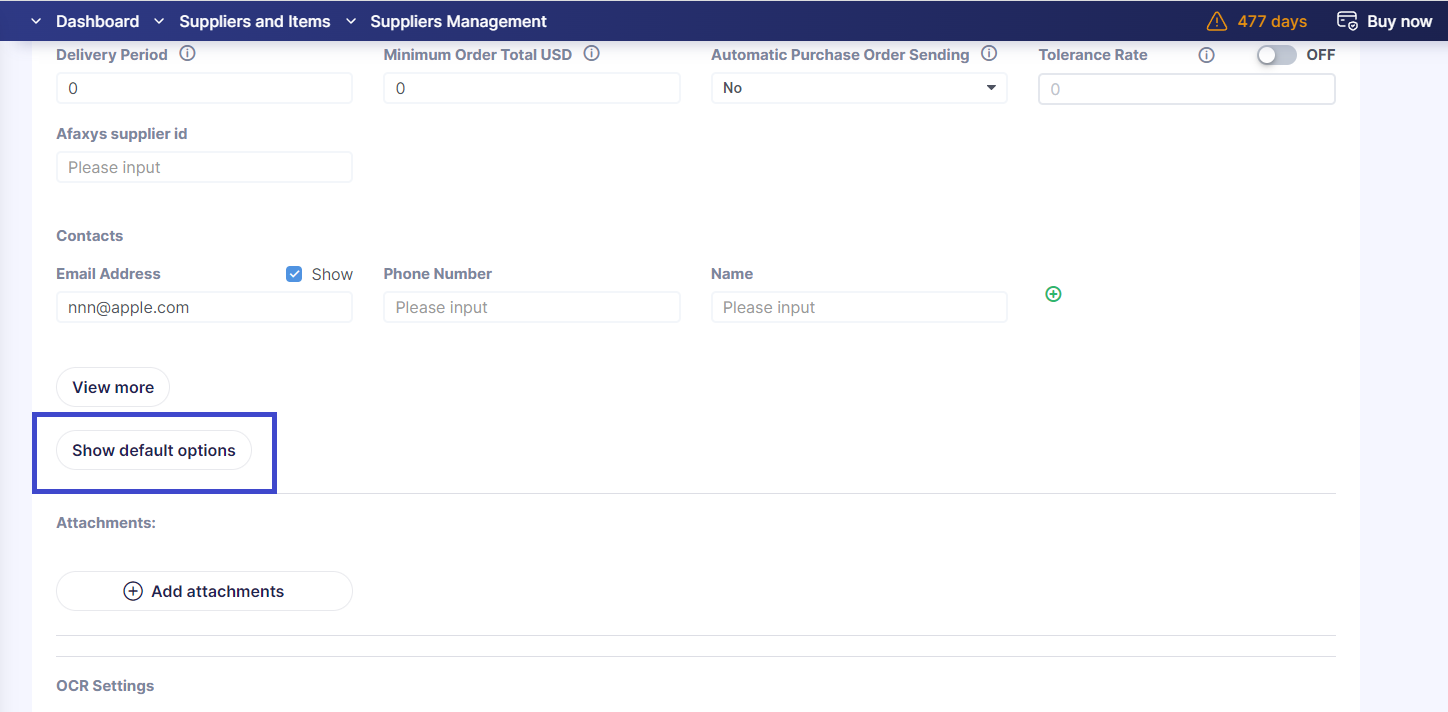
- Create a new document, and the default values will be automatically added to it.
📖 For more information on working with custom fields in Precoro, visit our article here.
Ability to send approved requests for proposals to suppliers for revision
We've made it even easier to update requests for proposals when you negotiate new conditions with a supplier. You no longer have to create a new RFP document and go through the entire confirmation process again. Instead, you can simply send the confirmed request for proposal back to the supplier for revision.
💡Please note that this function is only available for requests for proposals with Approved statuses. Once the RFP has the Completed status and suppliers have been selected for the items, the proposal can no longer be sent for revision.
Additionally, during the revision process, the supplier cannot edit any items for which you have already appointed a supplier. This ensures that your selections remain final and reduces the chance of any confusion or errors during the revision process.
How to send a document back for supplier revision:
- Open the approved document and click on the Show supplier proposal button in the Status column.
- Click Send for revision and leave a comment for the supplier, specifying what needs to be corrected.
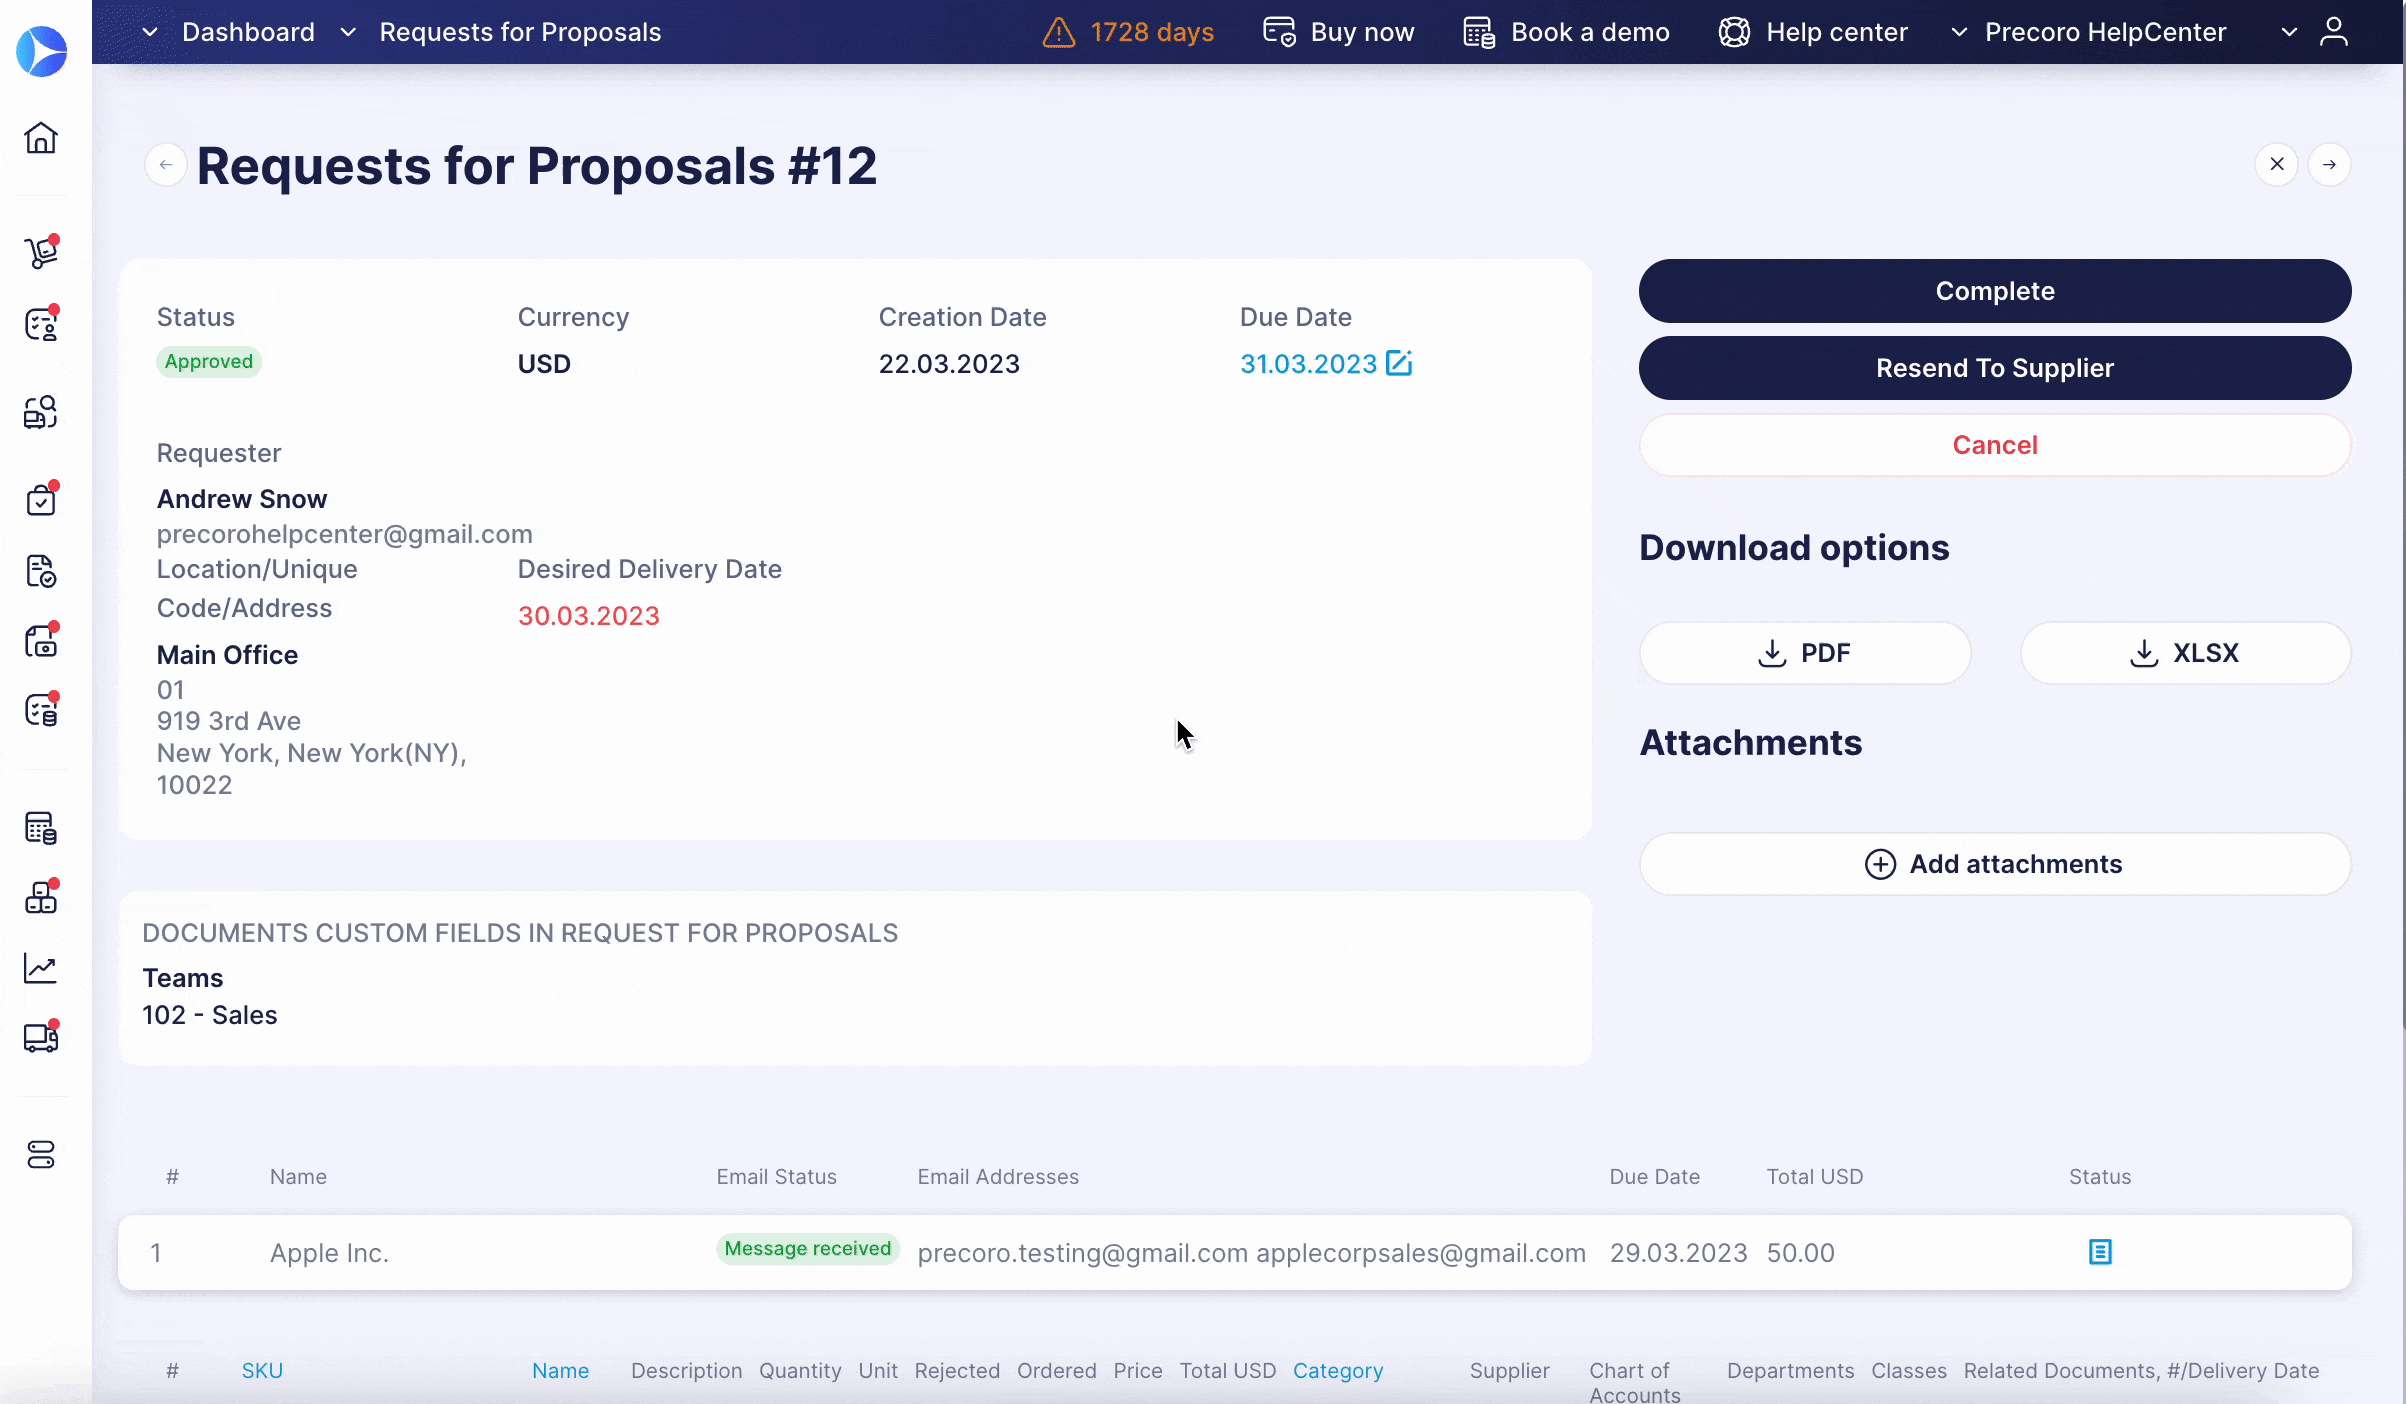
The supplier will receive an email notification with your comment and will be able to edit the information. Once the necessary changes are made, and the revised proposal is ready for your further confirmation, you will also receive an email notification.
New design features
We've upgraded Precoro's document pages with a brand-new, sleek, and intuitive info card design to make your product experience even more pleasant to the eye.
There is also a new button placement in the header and a fresh design to the mass action button in all Precoro documents.
Personalized email notifications
OCR notifications
You can now personalize your Precoro notifications for the documents that have been processed with OCR.
💡 Only users with the OCR role or Create role activated for Invoice documents (with the OCR module turned on) are able to set this email preference.
To configure notifications:
- Navigate to Email Preferences → Misc
- Activate or deactivate the Document has been processed with OCR checkbox
Substitute user notifications
We've also added the option to choose whether or not to receive emails about being appointed as a Substitute user.
Here's how to do so:
- Navigate to Email Preferences → Misc
- Activate or deactivate the Notification about being selected as a Substitute checkbox
Other updates
Downloading attachments without previewing
You can now download attached documents without previewing them by simply clicking on the cloud icon next to the file you want to import.

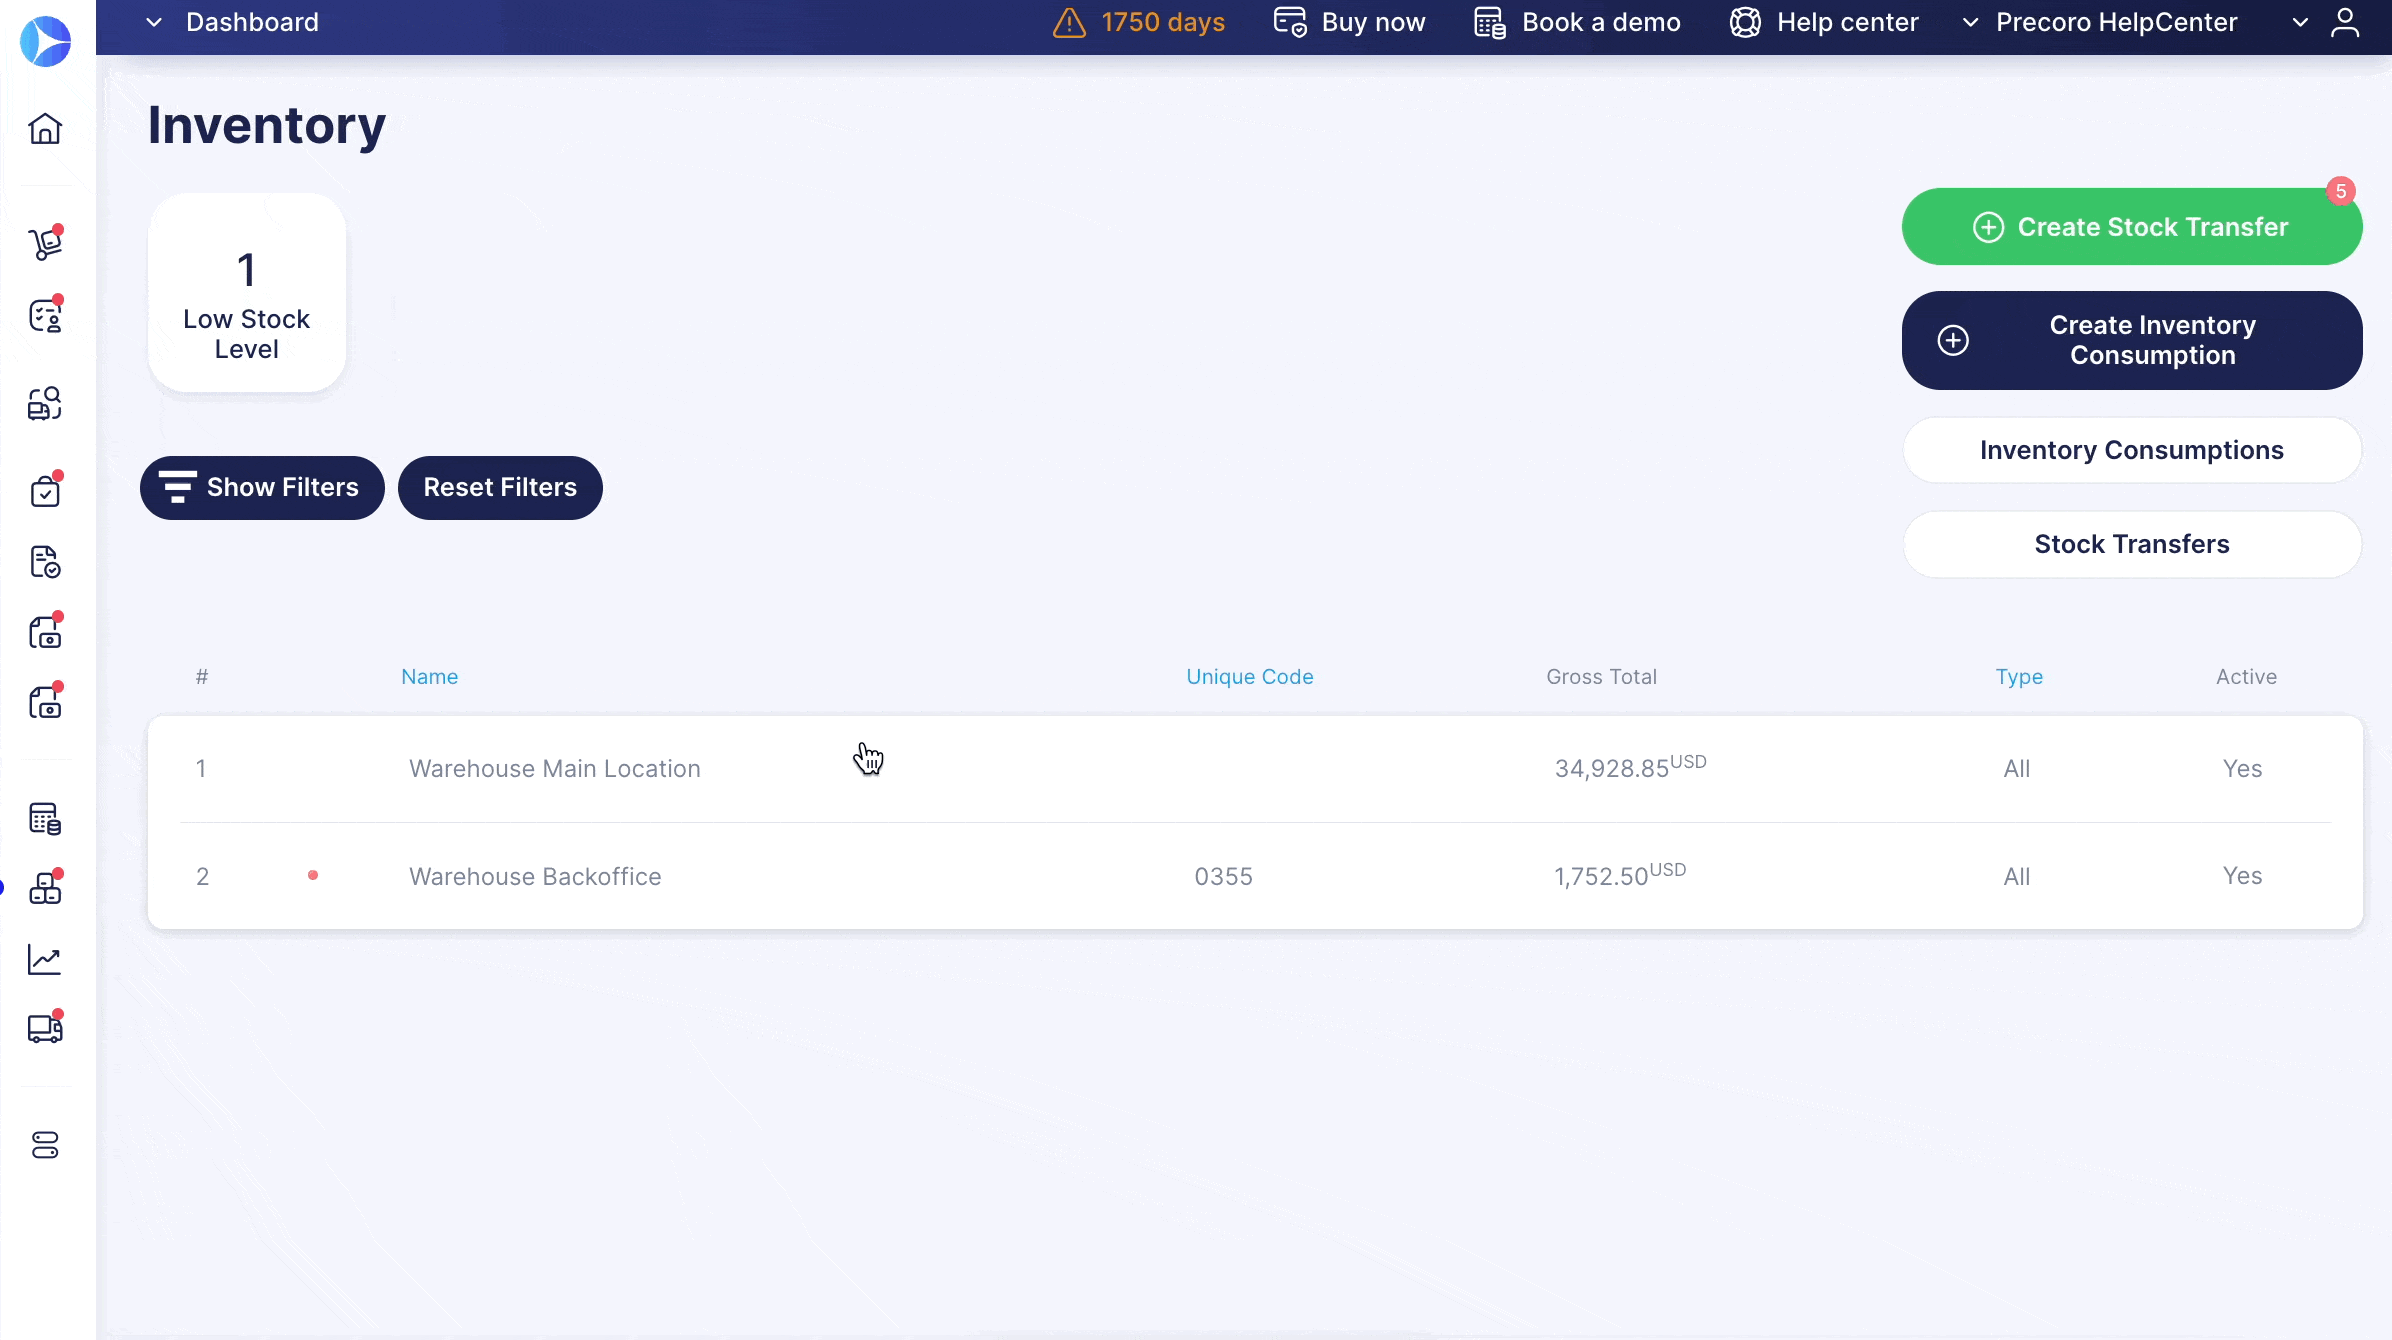
New exporting option for inventory consumption
Working with inventory consumption is even simpler as we have added the ability to export them in PDF or XLSX formats.
Ability to filter items by several categories
We've added the ability to filter items by several categories at once. You can access this feature on the following pages:
- Warehouse Management page
- Item Management page
- Pages for adding items to documents
Improved exporting of custom fields for items
Now when exporting reports with custom fields for items into XLSX, you will get the file with only those items that contain the chosen custom fields. This improvement applies to all types of reports containing custom fields for items.
Here’s how it works:
- Build a report and select the custom fields
- Export the report and open the XLSX file
We have more exciting updates in the pipeline, so stay tuned for what's to come 🚀.


