
Product Update, March 2022
Last month, Precorians not only introduced updates in most favorite modules of our customers but also released a brand new one.
A New Module in Precoro: Expenses
We've launched a new module to help you manage your employees' expenses in Precoro faster, easier, and more effectively.
Expense is a document type that allows you to create expense reimbursement requests.
Expenses usually occur when employees:
- spend their own money on behalf of the company and request reimbursement within their salary or separately;
- have a corporate card and should report payments made with it.
How to use Expenses in Precoro:
1. Activate the Expenses module for your company. Go to Configurations → Basic Settings and click on the Expenses tab. Once Expenses are enabled, you can also manage additional settings.
*Don't forget to activate Empty Rows for Items
2. Activate the related roles. Use Configurations → User Management and assign the appropriate roles for users who will be in charge of creating, approving, and/or paying expenses.
*Reach out to User Roles in Precoro for more information.
3. Create the documents. To add a new Expense, use a correspondent tab in the menu and create a new document the same way you create a new Invoice.
Note: Approval Workflow, DCF/ICF, Reports, and Budgets (ability to assign documents to specific budgets) are also available for Expenses.
To check out more detailed information about Expenses in Precoro, please, use the following links:
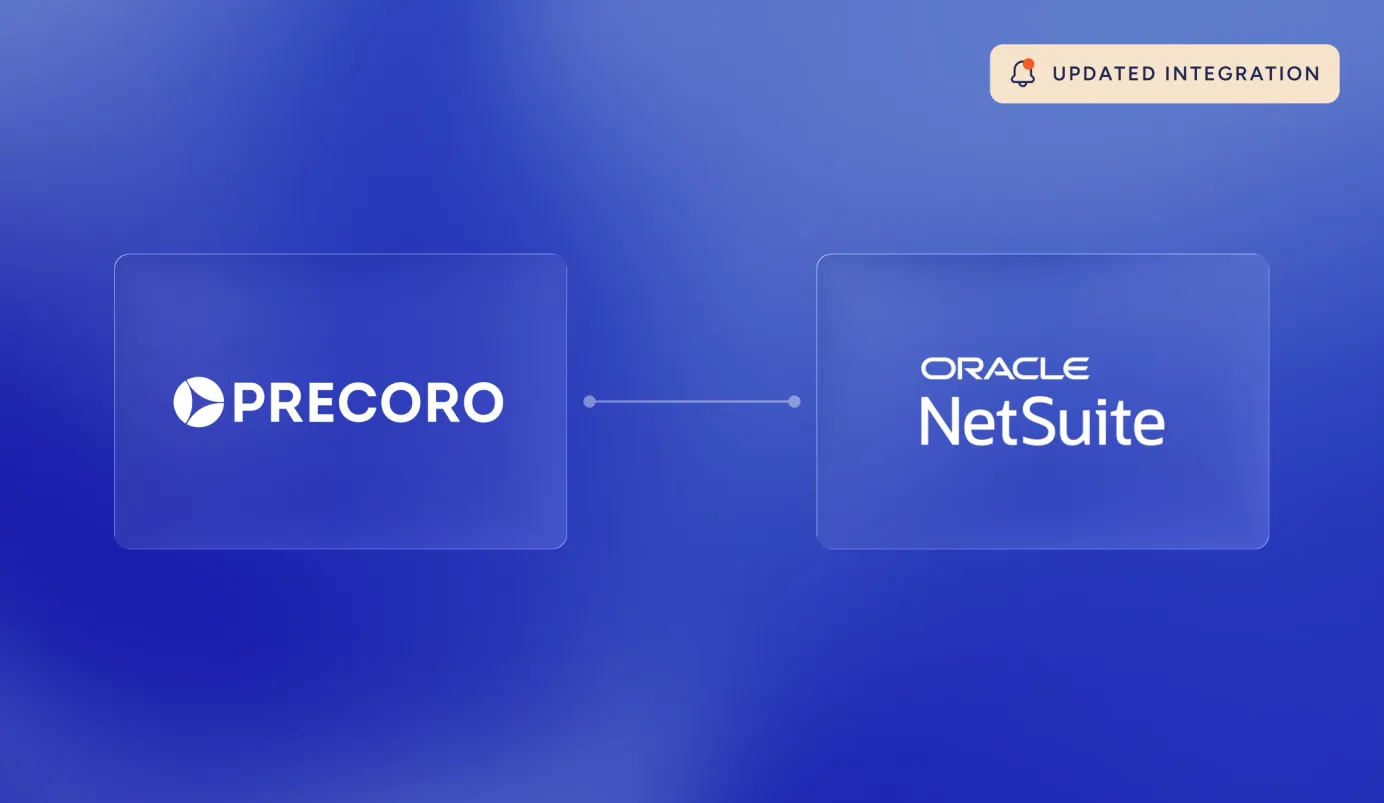
Updates in Integrations
NetSuite Integration
Integration of Items from NetSuite to Precoro was improved
The process of the Items import was improved — now, you can:
- Choose which items should be imported from NetSuite to Precoro and which not.
- Select one of two types of matching for 'SKU' and 'Name' fields.
1. To import the selected Items from NetSuite to Precoro:
- Press the “Import Items” button on the integration page;
- Select items that have to be imported from NetSuite to Precoro (or select all ones);
- Click the “Import” button.
2. To manage the settings of Item fields ('SKU' and 'Name') matching between NetSuite and Precoro:
Use the radio buttons on the integration page to choose the desired type. You can choose one of two options:
1) The first option (current matching approach):
- SKU in Precoro = Vendor code from NetSuite;
- Name in Precoro = Item name/number from NetSuite
2) Second option (new matching approach):
- SKU in Precoro = Item name/number from NetSuite;
- Name in Precoro = Display name/code from NetSuite
Matching for other Item fields remains the same.
Check out more about how the integration of Items works.
Ability to re-integrate Suppliers with changed IDs in NetSuite
We fixed a problem when users could not send the documents to NetSuite with certain Suppliers selected.
It happened due to changes in these Suppliers' IDs in NetSuite after:
- deleting and re-creating Supplier with the same Name
- merging Supplier with another one.
So now, after re-creating or merging Suppliers in NetSuite, it's important to update them in Precoro manually.
To do this:
- Go to the NetSuite integration page
- Click on 'Update Suppliers.'
Suppliers with changed IDs will be re-integrated into Precoro. Thus, the ability to send documents to NetSuite with these Suppliers will be restored.
Please, note: the Name and Subsidiary of the re-created Supplier in NetSuite should be the same as before.
We are also planning to automate this process soon, so you won't need to Update Suppliers manually.
New info card "Not Sent to NetSuite"
We added a new info card for users with NetSuite integration.
It helps to filter documents that have not yet been sent to NetSuite.
QuickBooks Online Integration
Selective import of lists and settings
Now you can import only selected Chart of Accounts, Classes, Departments, and Customers (Projects) from Quickbooks if there is no need to import the full lists.
How the updated import works:
- Go to QBO integration page, scroll to Step 3 - Import lists and settings;
- Click on "Import Chart of Accounts" to open the list of the options available for the import;
- Use checkboxes to select Accounts you want to import to Precoro;
- Click on "Import";
- Repeat steps 2-4 for other lists you need to import.
Example:
- Precoro API was updated: new request PATCH for Supplier (Set Supplier ExternalId by ID) is now available (see the documentation); previously available PUT for Supplier (Update Supplier by ID) is now detailed in the documentation.
A Whole Bunch of New Email Features
Email Reminders for Approvers
Now you can set up the frequency of approval reminders for all approvers in your company.
To do that:
- Just go to the Configuration —> Basic Settings —> Daily Reminders;
- Select on which days the email reminders will be sent to the approvers;
- This setting will work for company approvers only;
Please note: the email subject was changed as well. Now, you'll see the Company name and the number of documents that require actions from you in Precoro.
We divided weekly reminder emails into two types:
- Documents require actions from you in Precoro (based on the previous Weekly Reminder email)
- Approval reminder (the new email reminder only for approvers)
1. Email reminder "Documents require actions from you in Precoro"
- Contains the list of actions required from you in Precoro (such as creating PO from PR, waiting for transfer, confirm, match, etc.)
- Default frequency - one e-mail every Monday.
2. Email reminder "Approval reminder"
- Contains the list of documents that require your approval in Precoro.
- Default frequency - one e-mail every Monday.
Also, you can set up the frequency of both email reminders for all company users/approvers depending on the type of email. To do that:
- Just go to the Configuration —> Basic Settings —> Daily Reminders;
- Select on which days each type of email reminder will be sent to the users and approvers.
To completely disable one or both reminders: use the appropriate checkboxes on the Email Preferences page (Misc section).
Updates for Email Preferences page
Email Preferences page received a few important updates:
- Сheckbox names were improved to be more clear and consistent with correspondent emails
- New options of email notifications available to switch on/off were added, some options received updates (12 in total):
1) Warehouse Request section
- Pending Transfer
2) Purchase Requisition section
- New Purchase Order from Purchase Requisition
3) Purchase Order section
- Purchase Order is ready for Prepayment
- Purchase Order has been prepaid
- Document has been canceled
4) Receipt section
- Document has been canceled
- Document has been revised or sent for revision
- New Receipt for Purchase Order
5) Invoice section
- Invoice has been paid
- Invoice is ready for payment
- Document has been canceled
6) Misc section
- Precoro Balance Report
Check out more about Email Notifications settings in Precoro.
Other improvements
- Email Preferences page was visually fine-tuned. We aligned the display order of checkboxes for all categories to make the page more structured and clear;
Purchase Order News
Better manual Purchase Order complete
Now, you can manually complete the Purchase Order if it was created and approved before disabling particular modules.
If you first created a Purchase Order and then turned off Payments, Invoices, or Receipts, then such a Purchase Order can be completed manually.
An example:
- You created the Purchase Order and the Receipt. Then the Invoices module became inactive;
- The Purchase Order remained on the approved and received statuses;
- You can click the “Mark as completed” button on the Purchase Order page, and the document receive completed and received statuses;
Changes in the re-approval after the documents' revision
We are changing the process of the documents' re-approval after the revision. So now you won't need to re-approve the insufficient changes in documents.
Precoro will not trigger the re-approval in the following cases:
- If there were not any changes at all;
- changes of Items Custom Fields if the Budget or Budget Line remains the same;
- changes of Items Custom Fields if the document's budget does not include any Items Custom Fields.
*Currently, this feature is available only for Purchase Orders. We will expand it to all types of documents in our nearest releases.
Tweaks in Budgets
New description field for sub-lines with Items Custom Fields
When creating a budget with Items Custom Fields included, you can add a short description for each sub-line (if necessary).
It could be helpful for complex budgets with 2 and more Items Custom Fields options in each sub-line to make it more structured and easy to follow with unifying titles.
New 'view by' option and new filter
Now you can choose how to view your list of Budgets:
- by Parent Budget (current view) OR
- by Budget line names (new view option)
We've also added a filter for Document Custom Fields (Departments).
If you use the Budget line names view, the Document Custom Fields included in your budget will be displayed in the "Other details" column.
Improvements in Customization Options
Custom fields transfer from Purchase Requisitions to Requests for Proposals
Now all custom fields used in both documents will be transferred from Purchase Requisition to Request for Proposal at the creation stage. This applies to Documents Custom Fields and Items Custom Fields.
Some columns were removed from the Reports "Invoice by item" and "Credit Note by item"
Starting from February 24, some columns that pull data from the Catalog and related Purchase Orders were removed.
That's all columns with:
- Items Custom Fields marked with [PRODUCT] in both reports;
- Documents Custom Fields and Items Custom Fields marked with [PURCHASE ORDER] in the "Invoice by item" report;
Note: Columns with Custom Fields from the Invoices will remain in these reports.
Hints:
- To extract the Items Custom Fields data from the Catalog, use the "Catalog Revision History report."
- To add Custom Fields from the related Purchase Orders to the Invoice report, use an "Invoice Custom Report."
Check out more about Custom Reports in Precoro.
The Rest of Upgrades
Inventory: ability to set tax in bulk for all items in Warehouse
Now you can apply the selected tax to all items in the list in one click.
To do this:
- Click on the "Edit" button of any item on the list;
- Select the appropriate tax rate, save it;
- Click on "Apply to all" to assign this tax rate to all other items on the list;
- Save the item.
The revision and cancellation of Invoices from the Supplier Portal was improved
Due to our releases:
- The Supplier can revise or cancel the Invoice right in the Supplier Portal;
- The Invoice issuer and all Invoice approvers can revise and cancel the document;
- If the Invoice was revised by the Supplier — it would trigger the re-approval;
- If an Approver was added after the Invoice received the approved status — he would also have access to the revision and cancellation;


