3 min read
Take Financial Data Under Control with Precoro and Sage Intacct
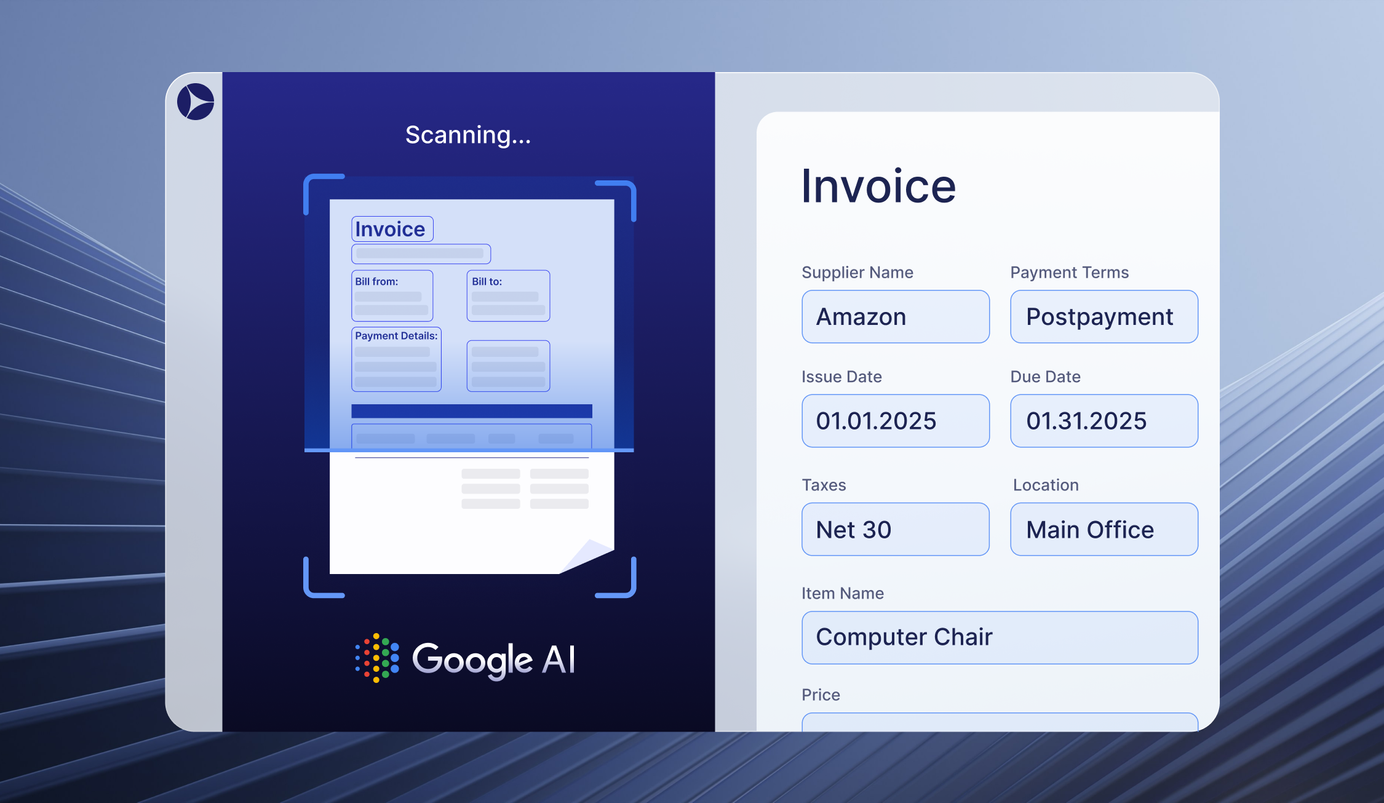
Create an accounting process that is both straightforward and accurate. Easily manage invoices in Precoro, with billing details automatically sent to Sage Intacct for seamless and error-free payments.
The long-awaited integration is finally here! If you are tired of disconnected purchasing workflows, struggling to track invoice journeys and pay bills with confidence, the Precoro and Sage Intacct integration is here to change the game.
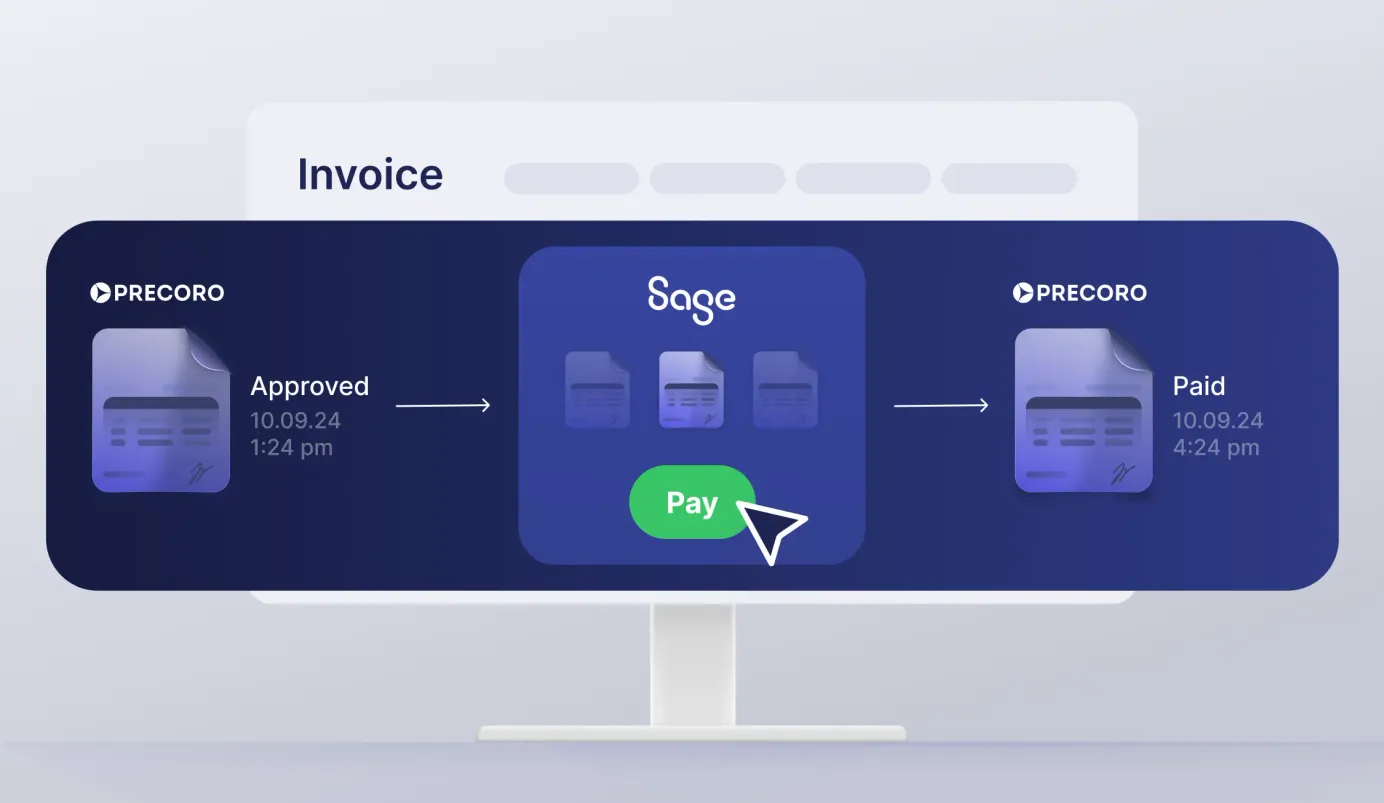
Now, you can manage invoices effortlessly while ensuring real-time data synchronization between both systems. Handle your purchasing workflows in Precoro, create invoices, and automatically transfer your bills to Sage Intacct. Once you pay your bills, the payment information will seamlessly flow back to Precoro.
Curious to learn more? Read on to discover how to set up this integration.
How Does the Precoro and Sage Intacct Integration Work?
The integration between Precoro and Sage Intacct gives you a complete, accurate view of your financial data by automating data transfers between both systems. For example, with a two-way sync of suppliers, you can centralize vendor management and make ordering smarter and simpler for your team.
Additionally, the integration automatically transfers key information from Sage Intacct to Precoro, including:
- Departments
- GL accounts
- Items
- Locations
- Projects
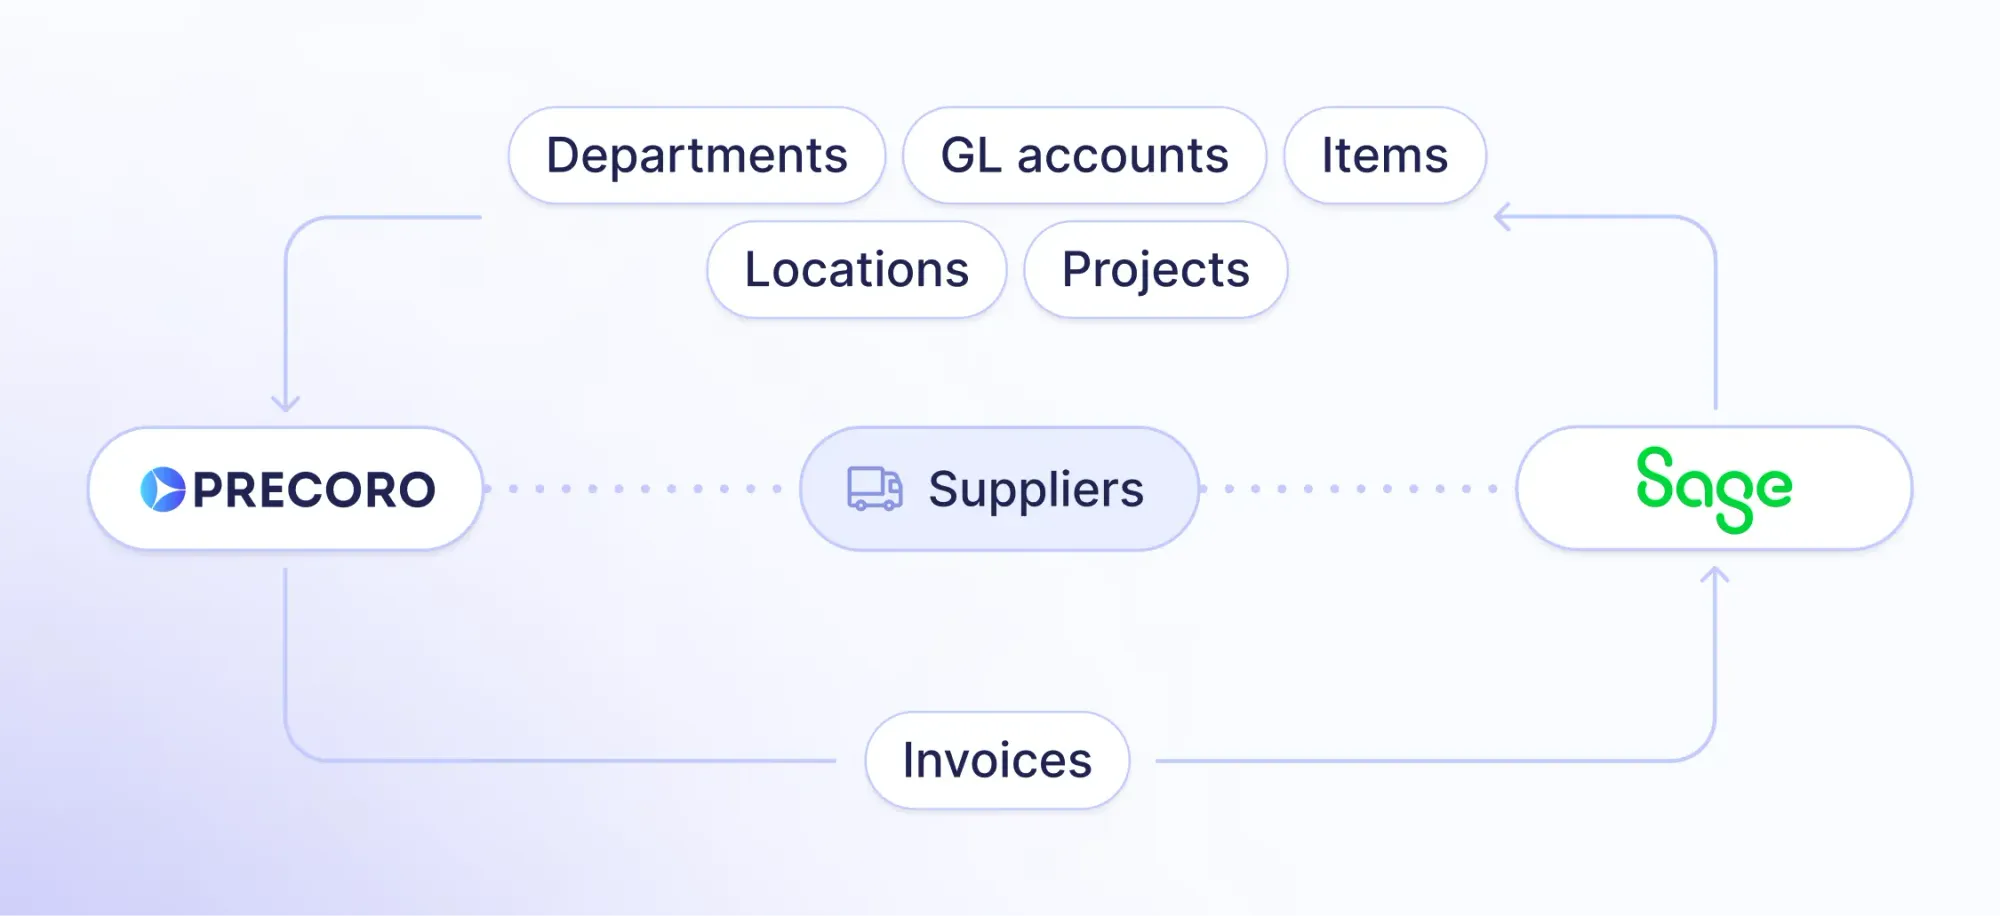
With this data available in Precoro, you can easily create and approve invoices with accurate information. Approved invoices flow directly into Sage Intacct, and once payments are processed, the details are synced back to Precoro—keeping everything in sync without extra steps.
Here are the benefits of using this integration:
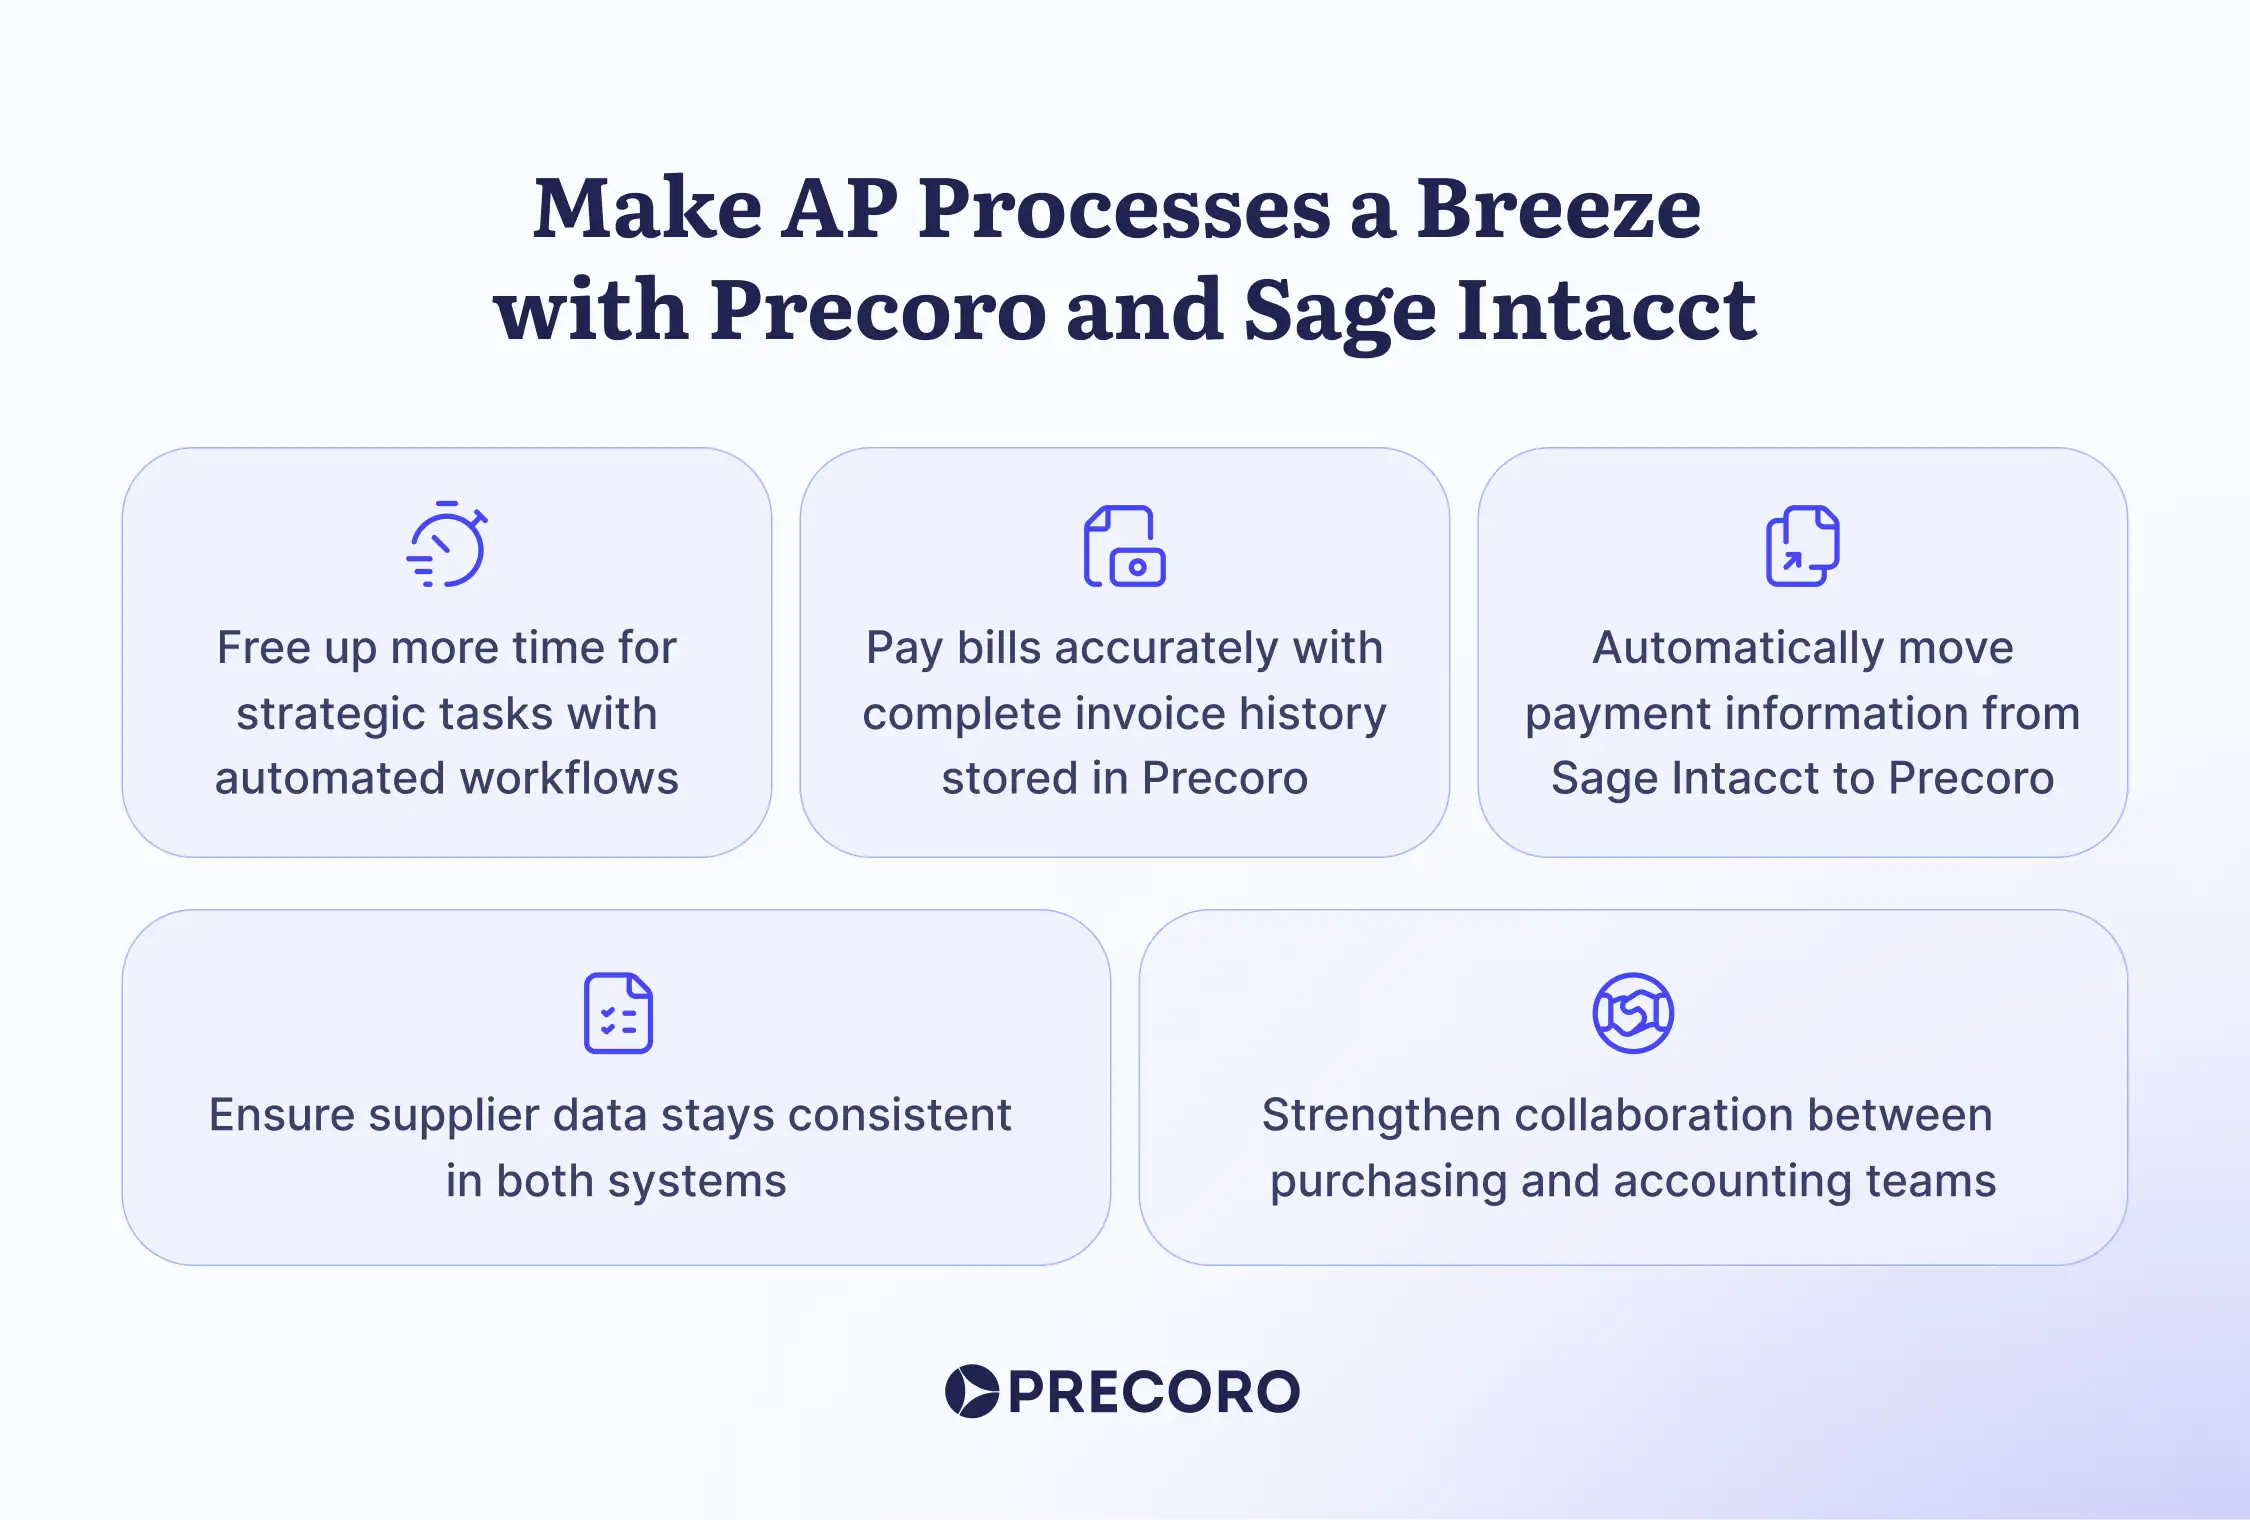
Setting Up the Sage Intacct Integration
💡Please note: This integration is a paid add-on and isn’t included in the standard plan. For pricing details, please reach out to your Customer Success Manager.
Additionally, you must have an active Sage Intacct Web Services developer license, which includes a Web Services sender ID and password. To obtain this license, please contact your Sage Intacct account manager.
Once you get the license, please follow these simple steps to configure the Sage Intacct and Precoro integration:
- Gather credentials: Collect your Sage Intacct credentials, including Company ID, Sender ID, Sender Password, User ID, and User Password.
- Create a web services user: Navigate to Company > Admin > Web Services Users to create a new user. Ensure to fill in the necessary details, including granting full admin privileges.
- Assign permissions: Go to Company > Admin > Roles to assign the new user the permissions needed for syncing your desired data.
- Create an API token in Precoro: Head to Configurations > Integrations and generate your API token.
- Define integration preferences: Decide on the data you want to sync between both systems.
- Contact Customer Success: Reach out to Precoro’s Customer Success team to finalize your setup and ensure everything runs smoothly.
Check out our step-by-step guide to setting up the Sage Intacct integration.
But Wait, There's More
The Precoro and Sage Intacct integration marks a significant milestone in simplifying financial processes for our customers. But the Precoro team isn’t stopping there! While you enjoy the benefits of this integration, stay tuned for even more exciting integrations already on their way. 😉
If you’re not using Precoro yet, take the chance today to discover how we can simplify your procurement process and keep the data synced with your favorite tools.


